Quick Links
As soon as you load up Snowbreak: Containment Zone for the first time, it'll instantly throw you into a combat scenario where you'll even have a small battle with one of the strongest Titans. The game features shooter-type combat with a bunch of mechanics that add a lot of depth to it.
At the end of every chapter, you'll have to face a formidable boss enemy. If you want to defeat these enemies without getting defeated, you'll have to learn all the combat mechanics and the advantages you can have with each weapon type and Operative.
How Combat Works In Snowbreak: Containment Zone
Although it's a shooter, the combat in Snowbreak: Containment Zone still doesn't focus too heavily on precise aiming unless you're using a sniper. This is because the game is available on both PC and Mobile. As soon as you see an enemy, you can simply shoot in their direction even without ADS and hit them.
Though you can't simply shoot at everything you see and expect to win every battle. A bunch of mechanics come into play as you get deeper into the game, and here's what each one of them does:
Mechanic Name | Function |
|---|---|
White Bar | As you get to the late game, almost every enemy will have a white bar above their HP. This bar can be considered as a sort of armor since it takes damage just like their HP, but the HP won't be reduced until their white bar is gone. If you are facing a bunch of enemies and only some of them have the white bar, it's recommended to focus on the enemies that don't have it so that you don't take damage from everywhere. |
Weakspots | The existence of weakspots might make it seem like you need precise aiming to play the game, but you can roughly aim at an enemy's weakspot without ADS and you'll still hit it. Almost every enemy has a weakspot, especially if they're big. These weakspots are quite easy to identify. For example, most Coyote enemies have their heads as the weakspot while the Adventist enemies have a glowing part in the middle of their body. |
Part Destruction | When you take your crosshair near certain enemies, they'll have a part on their body that has a health bar in yellow color. This is a special part that gives these characters a boost, but it can also make them vulnerable. If you destroy this part, the enemies will enter a fatigued state where they won't perform any attacks. This gives you a perfect chance to defeat them. Moreover, they also take a huge chunk of damage to their health. |
Shrines | This doesn't come into play often, but you'll sometimes see some Shrines surrounded by a group of enemies. These are purple and you can usually find the Adventists praying to it. If you witness one of these, you first have to destroy the Shrine because the Adventists won't take any damage with it being there. Moreover, Titans can spawn from them after being destroyed sometimes. |
Special Skills | When you hover over certain enemies, you can see a distinct bar to the right of their HP bar. This represents the enemy being able to use special skills. These skills don't belong to a particular enemy, and they can randomly be assigned to anyone. The only way to counter these skills is either by defeating the enemy or using certain Operative skills that can prevent enemies from using the skills for a few seconds. |
Ricochet | This mechanic will come into play almost every time you're in a battle. When you're shooting at an enemy that has a ton of armor, you'll see a lot of your shots Ricochet. This can only be avoided if you aim at their weakspots. Every type of gun has a different chance of getting Ricochet, and the lowest to highest chance is as follows: Sniper Rifle, Shotgun, Pistol, Assault Rifle, Submachine Gun. |
Learning all these mechanics at once might feel overwhelming, but it'll be like second nature once you use them in combat. To get more used to them, you can head over to Combat Training in the Operation section.
Different Weapon Types
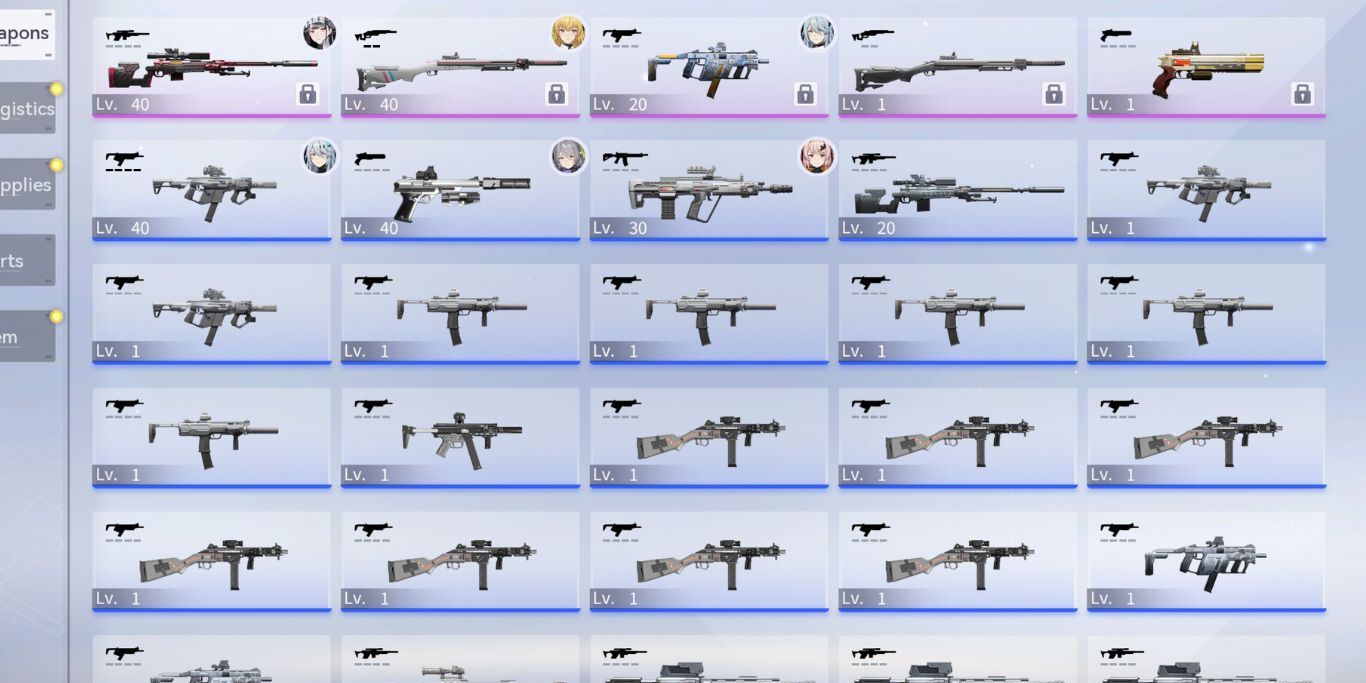
As mentioned above, there are five weapon types in Snowbreak: Containment Zone. Every Operative has a special weapon type assigned to them, and you can only choose a weapon from that type. Even after this limitation, the weapons you put on an Operative can change a lot of things like ammo, fire rate, ATK, etc.
Every weapon in the game also has a unique skill assigned to them. For most three-star weapons, this skill increases the damage of a certain type of element. But the weapon skills get more interesting and in-depth when you go up to four and five stars. Other than these skills, each type of weapon still has different uses:
Sniper | Snipers are long-ranged weapons that deal a ton of damage with every single shot. These weapons are great at Ballistic damage (damage that removes the yellow HP special parts quickly). Though they can be quite bad against a horde of enemies and need precise aiming. |
|---|---|
Shotgun | Shotguns are the mobile-friendly weapons of Snowbreak: Containment Zone since you can simply get all up in an enemy's face and shoot them down. They have the best Ballistic damage in the game, but your characters will lose a lot of HP while using them. This is because you have to be close enough to the enemy to be vulnerable to their attacks. Shotguns deal higher Ballistic damage if you use your ADS. |
Pistol | People might sleep on this weapon since it seems the least effective but pistols are still great in the game because they have high Ballistic damage and ATK. Moreover, characters who wield a pistol usually have impactful skills and Ultimate. For example, Acacia can use her Skill every few seconds, and it deals significant damage to multiple enemies. |
Assault Rifle | This weapon type is all-rounder since you still don't need to use ADS on them and they have decent Ballistic damage. You'd be able to get rid of an enemy's Special Part before your magazine runs out. Moreover, it has great damage for both short and medium ranges. |
Submachine Gun | When it comes to submachine guns, these weapons can be quite niche at times. If the enemy is too far away, they'll hardly deal any damage to them. Moreover, these weapons aren't great at Ballistic damage either. Although, their fire rate and reload speed are very good and you can mow down normal enemies quickly. |
How To Make A Team
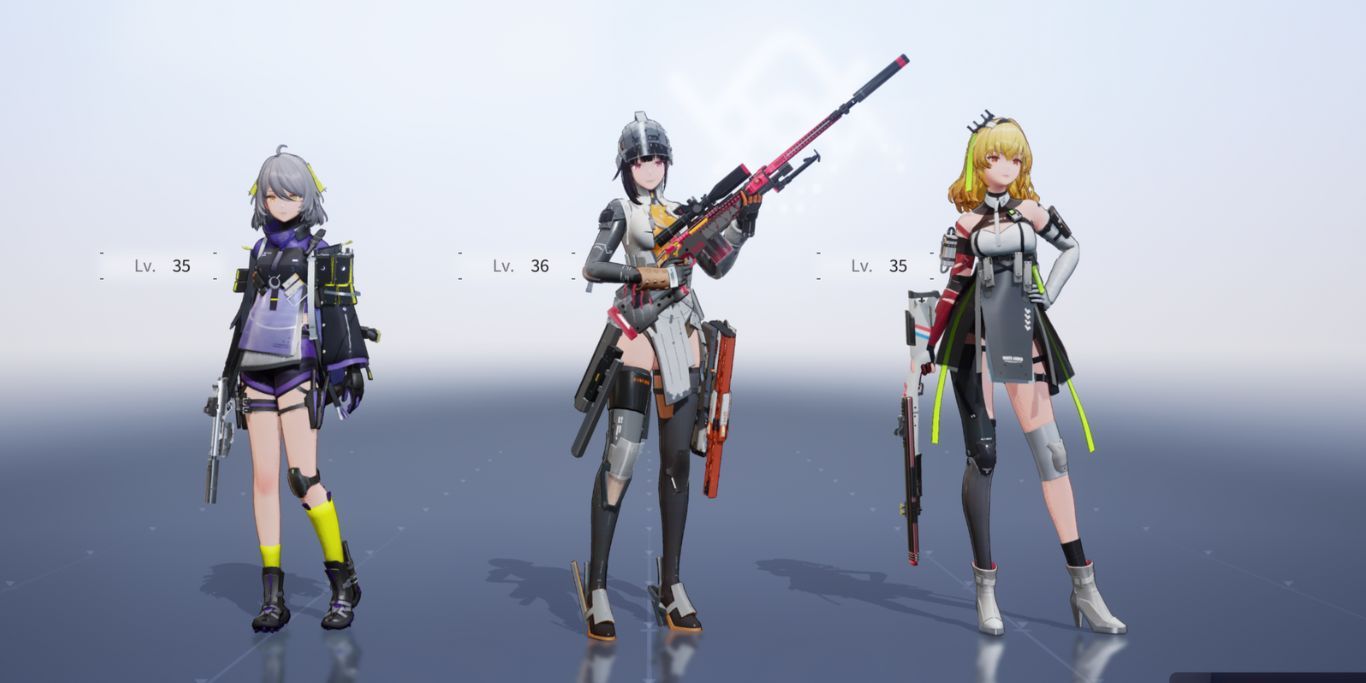
While you're preparing for combat, you will get to a screen where you can select up to three Operatives to be in your party. The middle Operative is assigned the first position in battle, the left Operative gets second, and the right Operative gets third. During the main story, you can choose any Operatives you want since the combat is quite easy.
It's recommended to choose the Operatives that aren't fully upgraded yet since you get a lot of EXP from the main missions.
You can use the upgraded Operatives in Operation and other battle modes because they don't give any Operative EXP.
When it comes to difficult battle modes like Gigalink, Underground Purge, or Tactic Evaluation, you have to carefully consider your team members. These modes usually don't give you healing capsules, so it's highly recommended to have at least one healer or shielder in your team.
Other than that, one slot should be reserved for a main DPS who can deal phenomenal damage with both their weapons and skills. These are usually Shotgun or Assault Rifle users like Fenny or Fritia respectively. The final slot can go to someone who has great Support Skills.
Support skills can be triggered when a certain Operative is not on the field, allowing them to participate in battle.
An example of an Operative with great Support Skill would be five-star Lyfe who can freeze the surrounding enemies for a few seconds. If you don't have a healer or a shielder, you can use a second character with good Support Skills. A team of these three types of Operatives will take you a long way in battle.


