Halls of Torment is an action roguelike in the vein of Vampire Survivors with a distinctly Diablo-esque flavor. You control a cast of characters as you mow down hordes of skeletons, imps, and other beasties who show up in increasingly difficult waves as you fight for 30 minutes of survival.
Of the playable characters, Archer is arguably the best, boasting a high rate of fire, movement, speed, and potential for raw damage. Of course, you gotta set her up right if you want maximum results. So if you want to turn your Archer into a machine gun of arrows, this guide has you covered.
Halls of Torment is in Early Access, and the info below may change as the game is updated and when it receives a full release.
Equipment
Equipment Slot | Item Name | Alternate Item |
|---|---|---|
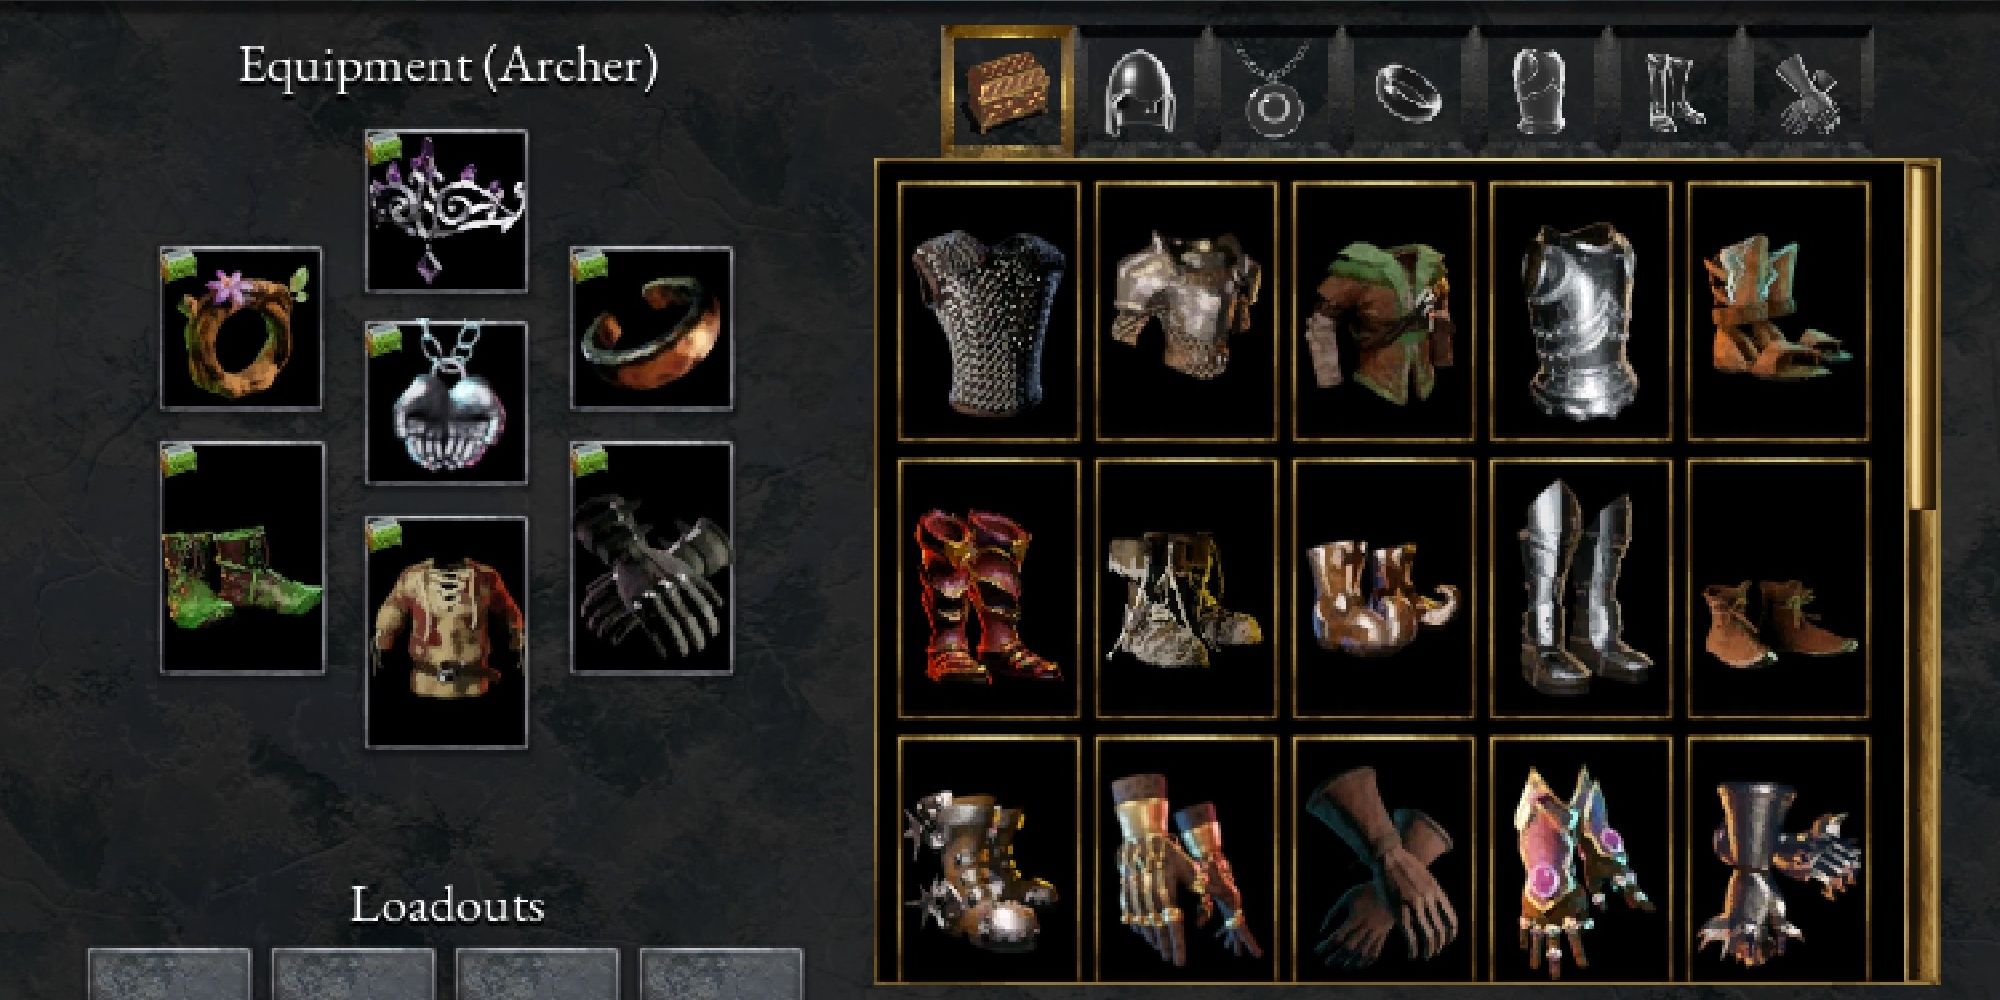
Headwear | Wind Crown | Any |
Necklace | Jade Amulet | Gatherer’s Charm |
Garment | Blood-Soaked Shirt | Any |
Rings | Copper Ring + Wooden Ring | Iron Ring + Echoing Band |
Gloves | Hunting Gloves | Quickhand Gloves |
Footwear | Runner Shoes | Elven Slippers |
The Archer is a bit of a glass cannon, and you should definitely focus on leaning into her strengths, since trying to shore up her weaknesses is too inefficient to work. To that end, the Wind Crown is critical to keep the ball rolling, since it gives you a ramping attack speed buff for every enemy you kill, up to 50 percent.
With your rings, you have some options: if you want big scaling damage, go with the Copper and Wooden rings, but if early hordes are giving you a hard time, the Iron Ring and Echoing Band combo are a decent pick as well. Hunting Gloves are great on the Archer, but can take a while to unlock, so Quickhand Gloves are a pretty good alternative until you can grind up the former.
The rest of your equipment is mostly defensive, but make no mistake, your best defense is to keep moving, mow down enemies, and not get mobbed. The Blood Soaked Shirt helps you recover from any small grazes you have with enemies. Runner Shoes are great since they give you a substantial speed boost, but if you’re having trouble dodging enemies, the Elven Slippers will mitigate the damage you take — provided that you’re always moving.
Shrine Of Blessings
Primary | Damage, Attack Speed, Movement Speed, Revives |
|---|---|
Secondary | Attack Range, Pickup Range, Defense, Health Regen |
Optional | Lightning Damage, Fire Damage, Area/Projectile Size, Duration |
The Shrine of Blessings is your largest source of power before you actually start a round, and as such, you should invest as much of your gold into it as you are able, especially since it’s all refundable with no consequence. Of course, since gold is a limited resource and it’ll be a long time until you can max out all of your blessings, above is how you should prioritize each blessing.
Generally, your primary concern is dealing as much damage as possible and keeping on moving. Once you unlock the ability to buy Revives, consider having at least one since it can lessen some of the pressure of run-ending mistakes. Given that you already have a long attack range, you don’t want to invest too much in it, but it only takes two buys for your arrows to reach the end of the screen.
Pickup range helps you level up quicker and removes the need to put yourself into dangerous situations to grab experience gems, while Defense and Health Regen will help you recover from small scrapes. The situational options are only necessary if you’re trying out builds centered on Fire, Lightning, or Spells.
Traits
Primary | Damage, Attack Speed, Crit. Chance, Crit. Damage, Projectiles |
|---|---|
Secondary | Piercing, Movement Speed |
Optional | Defense, Health Regeneration, Health |
The Traits you acquire are random and go by many names, often varying from character to character. However, the chart above highlights the stats you should focus on during a run. Since the Archer’s defense relies heavily on her offense, you want to max damage as quickly as possible.
Crit. Chance and Crit. Damage means that your progression goes from linear to quadratic, since you’ll do orders of magnitude of damage more and more often as you get into the mid and late-game, something that is helped by the Archer’s high attack speed. Piercing allows you to mow down enemies with greater ease, but the Archer has such a high Pierce score already that you only need to buy a few points in it.
Extra Projectiles are always good to have, since you can hit more targets downrange and it has a shotgun effect at close range, great against Elites and Lords.
Movement Speed should be all you need to keep out of danger as you kill enemies too quickly to get close to you, but if you haven’t made much meta-progression, the above Optional Traits will help you get out of some tough scrapes.
Spells
Primary | Transfixion, Phantom Needles, Ring Blades |
|---|---|
Secondary | Astronomer’s Orbs |
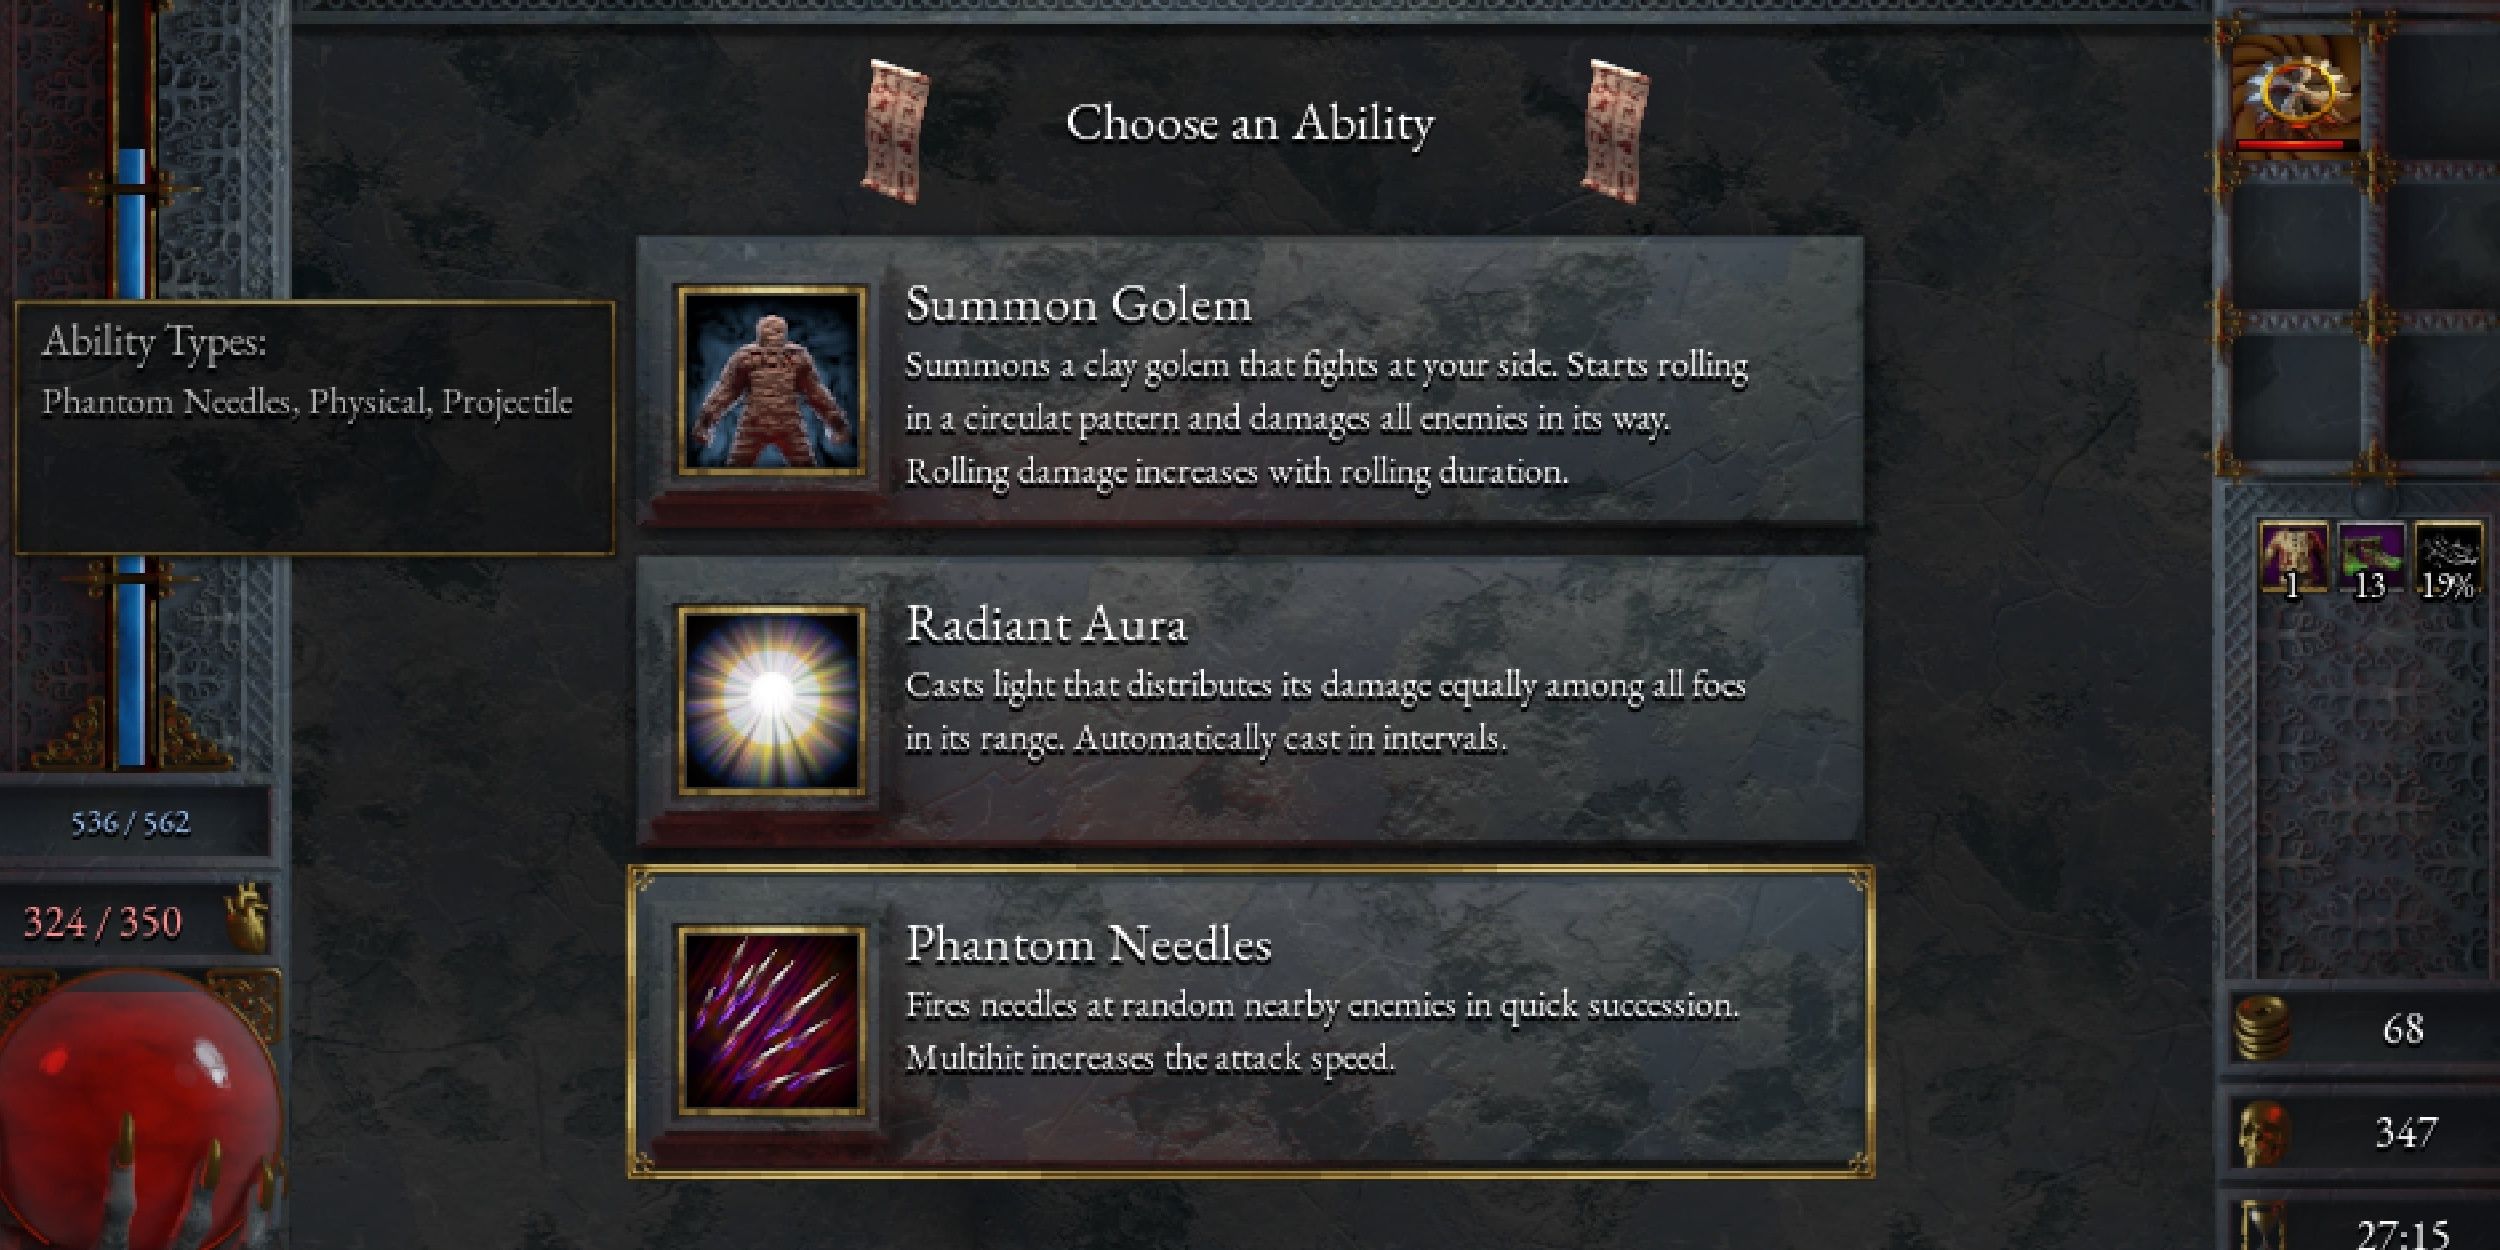
Spells are also largely random and much rarer than traits, so you should take what you can get. However, some spells work better for the Archer than others. All the Primary options scale well off of extra Projectiles, and Phantom Needles scales especially well off of Crit. Chance and Crit. Damage.
Astronomer’s Orbs might seem like a strange option since they only work once enemies close in a little bit, but they scale off of Movement Speed, which means that you can run them into enemies with ease. Everything else is a decent option, except for Golem, which is just terrible.


