Quick Links
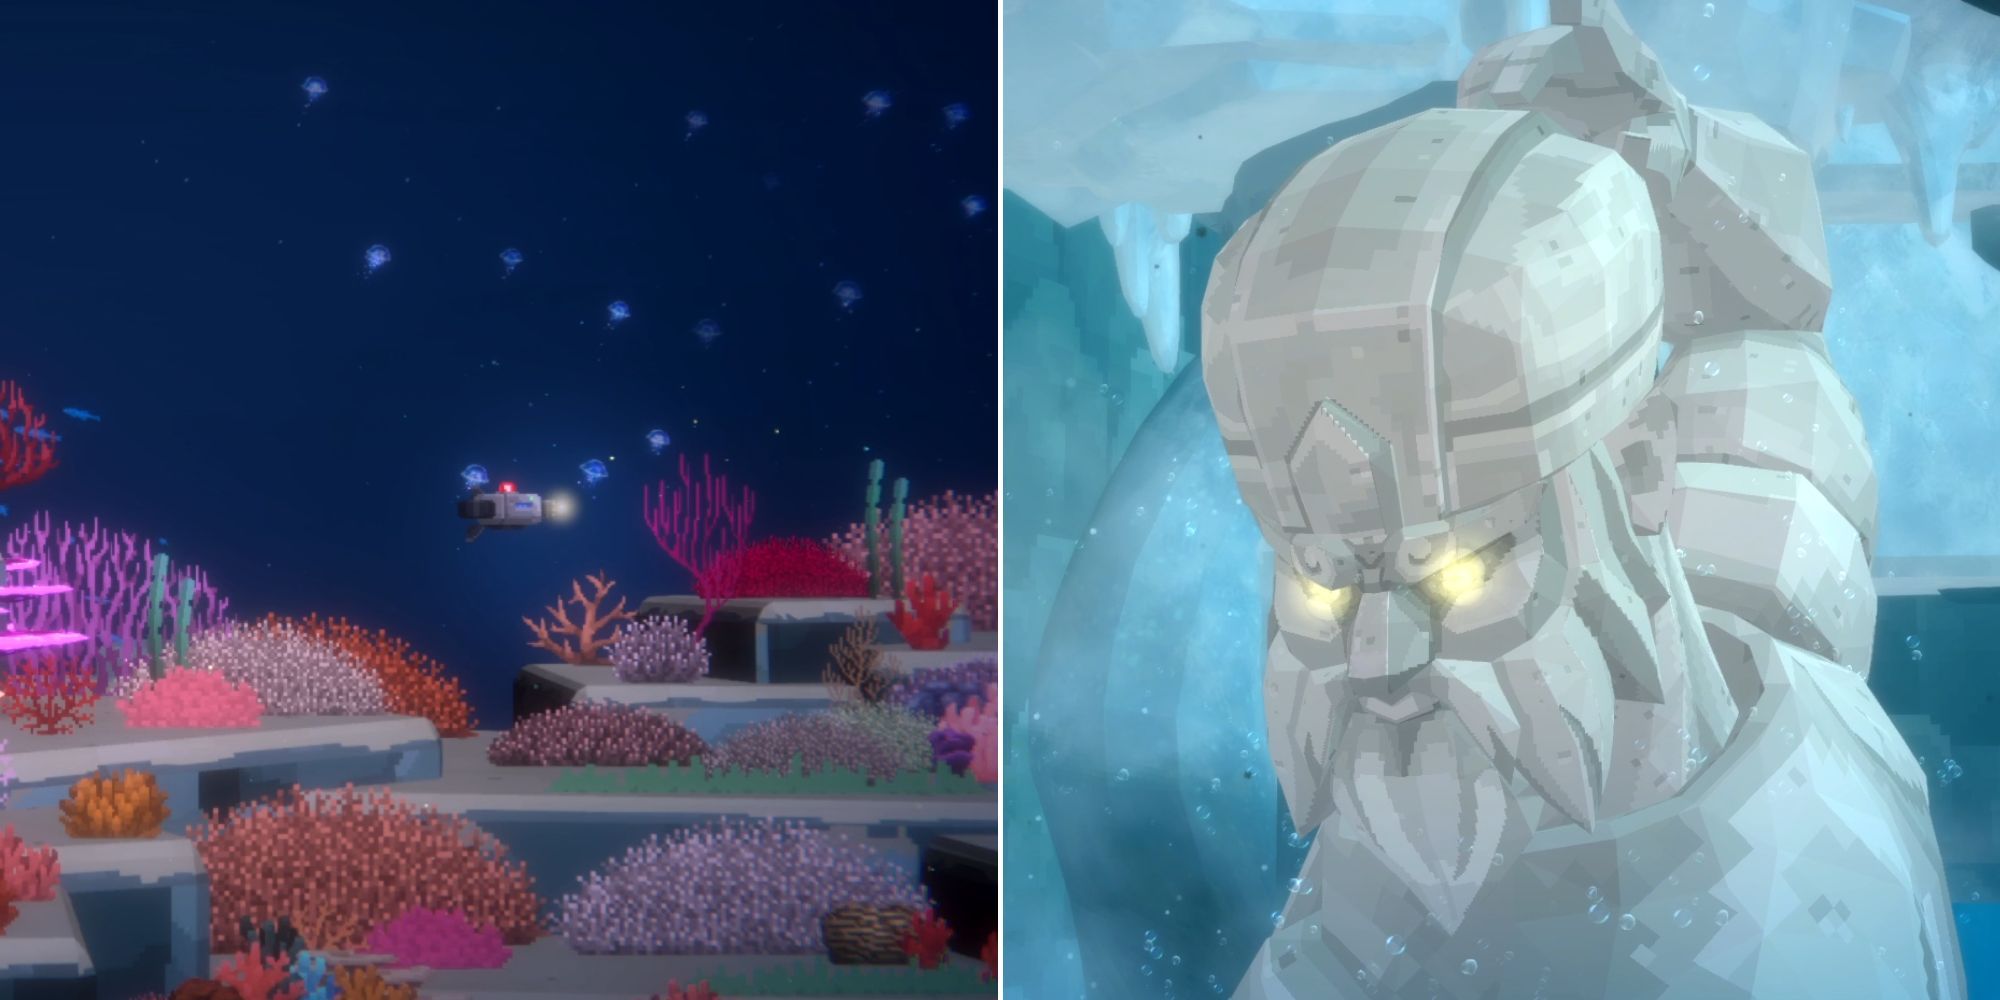
After getting the trust of the Sea People in Dave The Diver, you'll be asked to get past the Glacier Passage and reach the Control Room to find the source of the earthquakes. To do this, you'll first have to enter a hideout underwater and get a device that can help Dr. Bacon make you a new diving suit.
Once you get the suit and head back to the Glacial Area where you defeated the Giant Gadon, you have to activate three switches to open the Control Room door and head into the heated chamber.
How To Get The Device From Sea Blue Hideout
During the first part of chapter six, Cobra will mention that he has a plan that can get you the device you need for the new diving suit. Although, you can only embark on this mission at night so you'll first have to finish the Restaurant serving on the day. Once that is done, you can dive underwater and follow a drone to find the hideout.
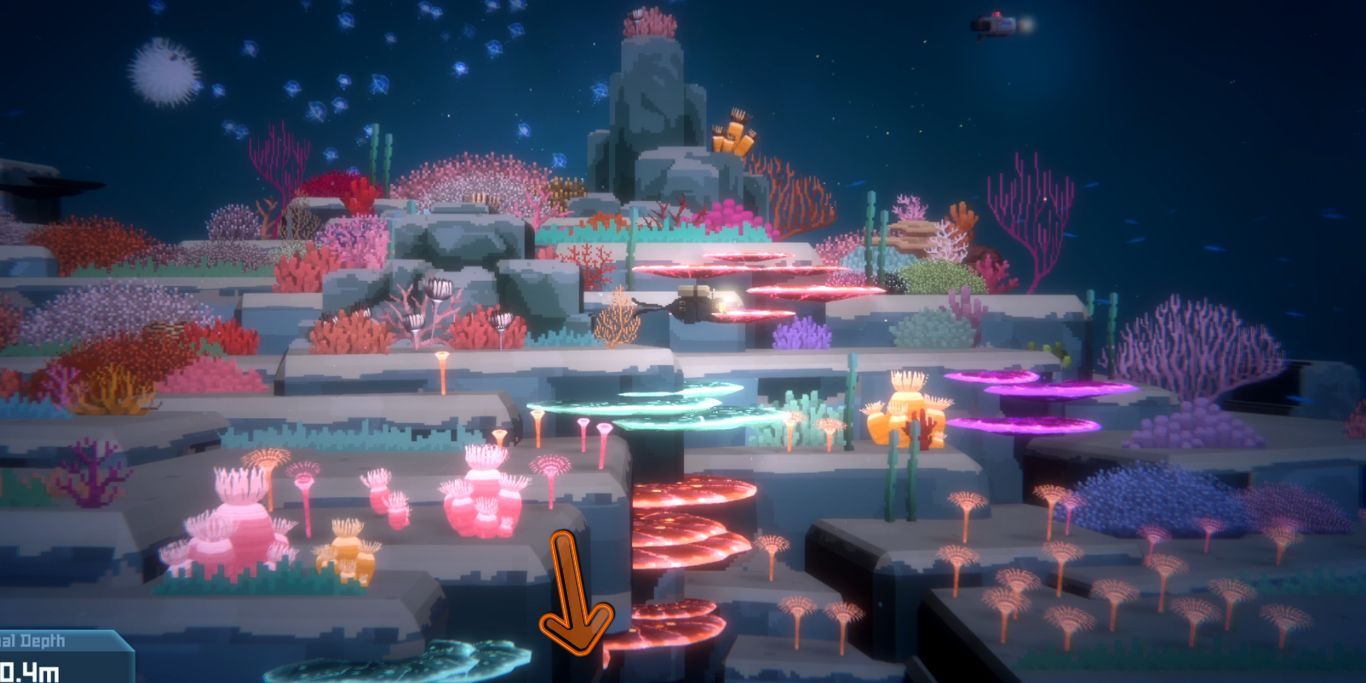
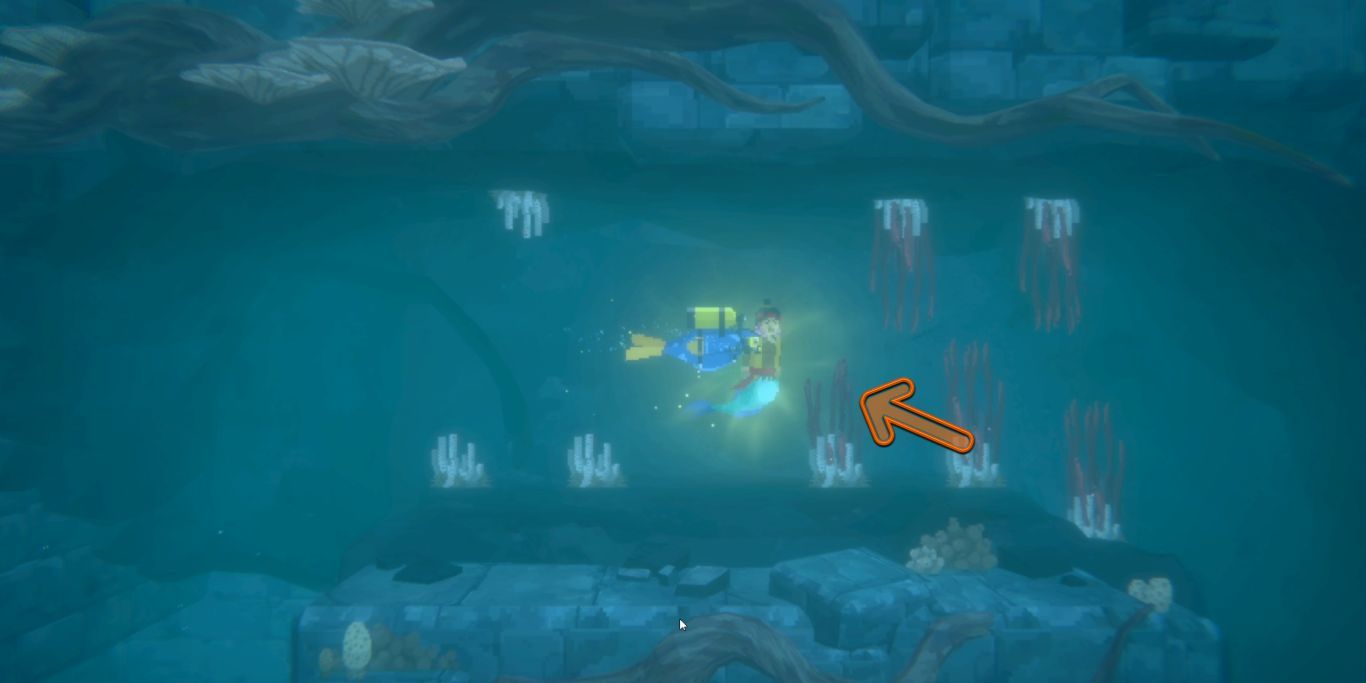
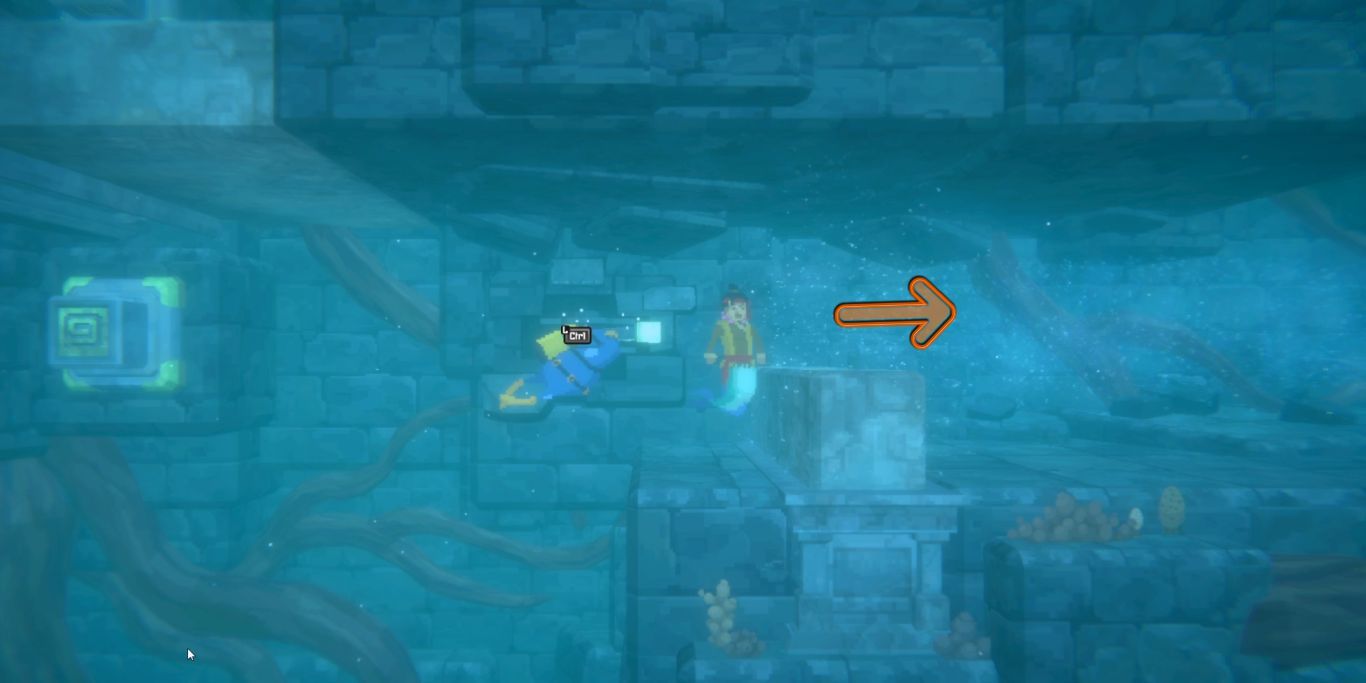
This drone goes all the way to the right and then back to the left, but you can take a shortcut here. After going to the right for a bit, you'll see a way down but the drone will keep going straight. Head down this path and go to the right to stay close to the drone. It'll eventually turn around and you can get to the hideout with it.
If you follow the drone's actual path, you'll have to get past some Jellyfish and a shark without getting detected.
This is because you don't have any weapons with you, so you can't attack these fish.
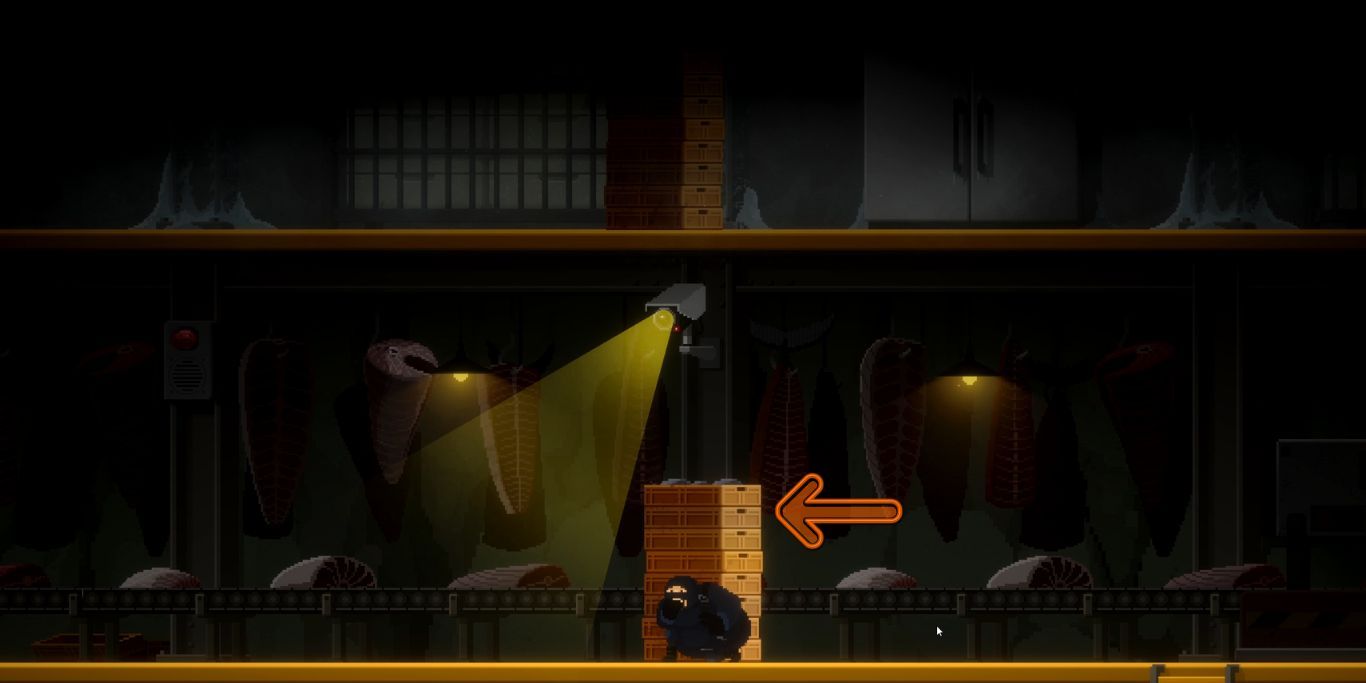
Once you're inside the hideout, you have to use the surrounding objects to get past the guards and the cameras. You can hide behind boxes, inside the freezer, or behind a giant box to avoid detection. The mission instantly fails if you get detected. You have to get past three floors to get to the room with the required device.
Escape with the device and you'll get the diving suit after a day. Once you get it, you can use the mirror to go directly to the Glacial Area and continue the chapter.
How To Activate The First Switch
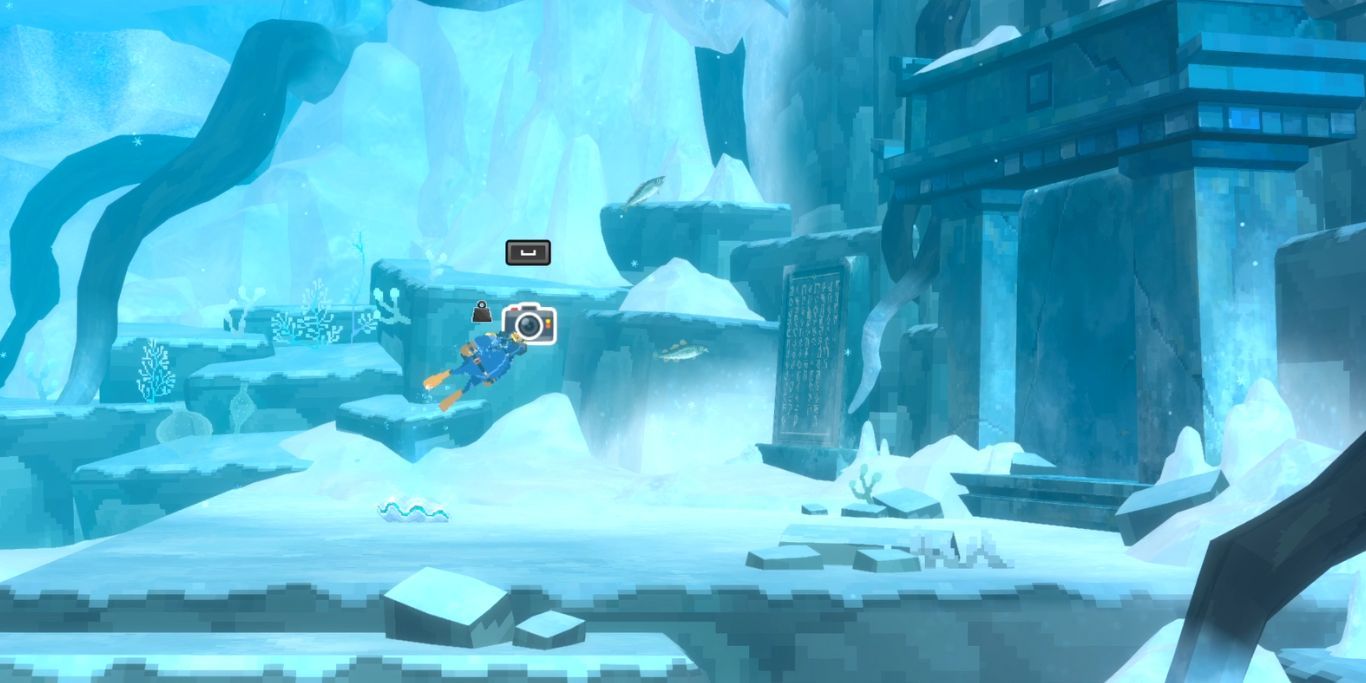
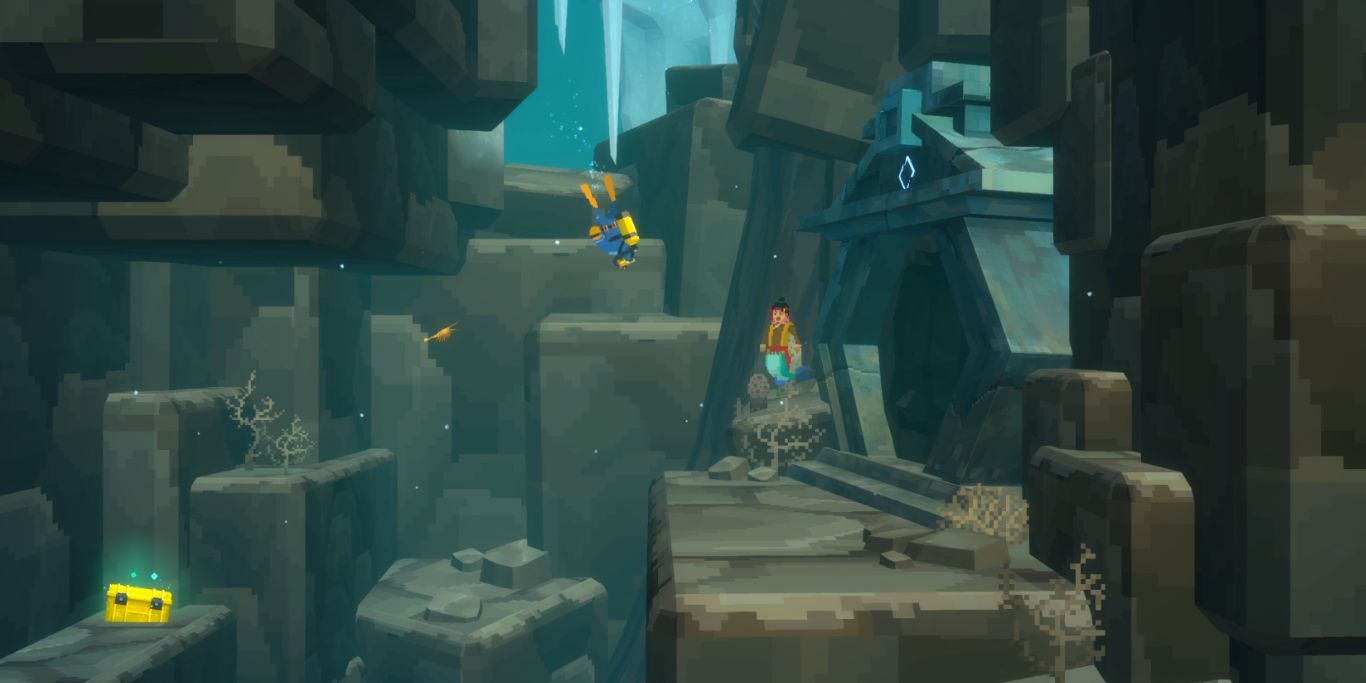
As soon as you enter the Glacial Area, go down and turn right as soon as the area opens up. Keep going right and you'll find a door with a mural near it. Something in the Sea People language will be written on the mural. As you follow the quest, you'll come back here with Suwam who will perform a ritual and open the door.
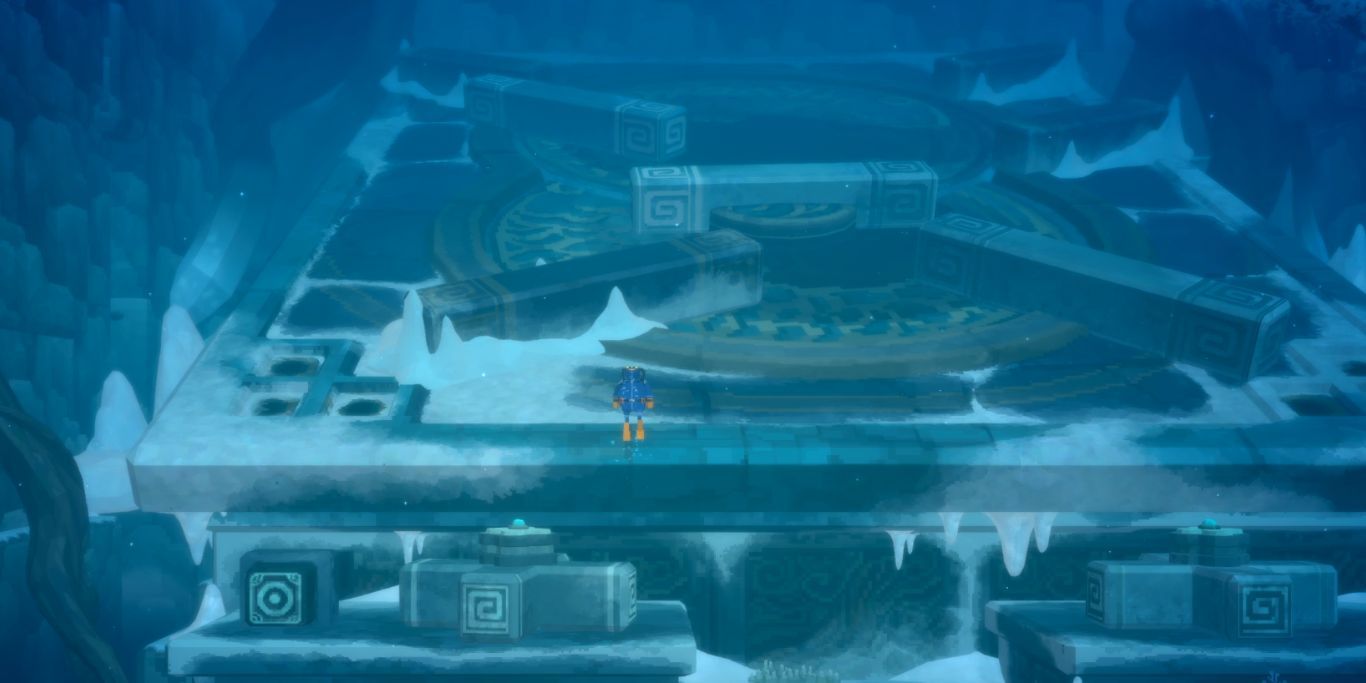
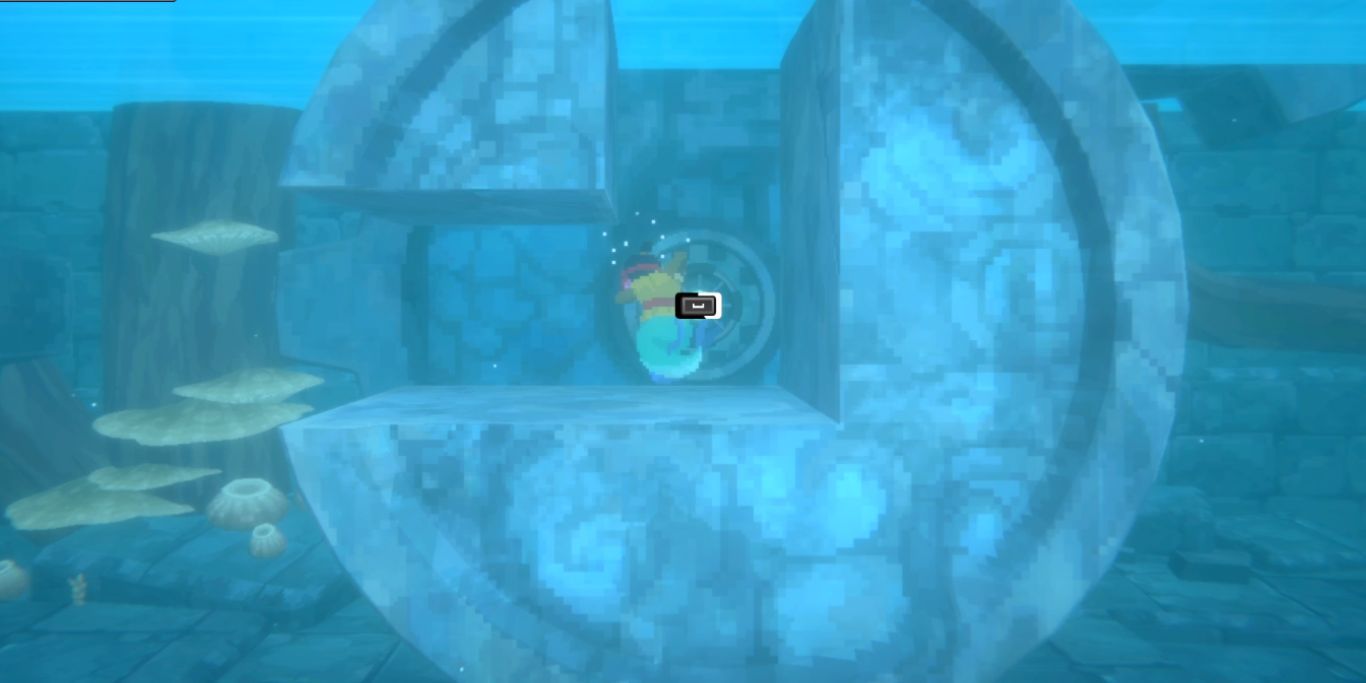
Once you enter the area, you'll see a rotating device on the right. As you rotate it while trying to go through, some spike traps will be activated. You'll have to maneuver around these spikes and get to the next area slowly.
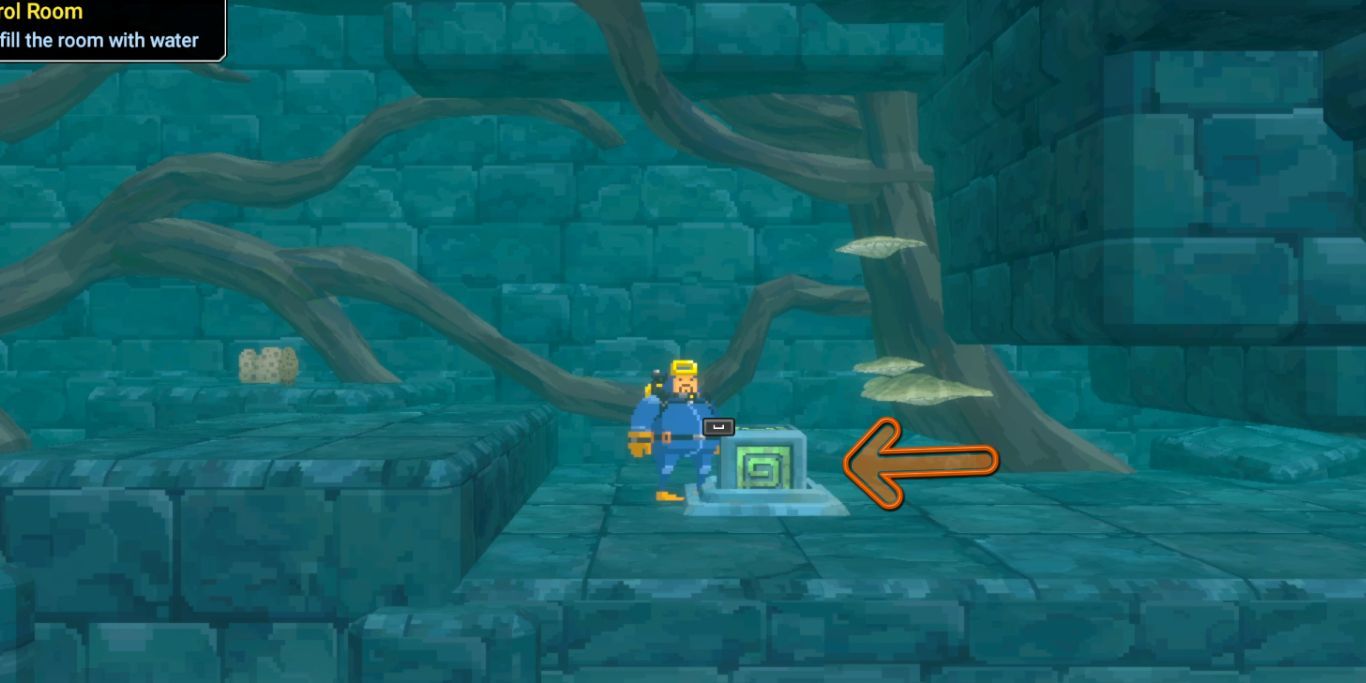
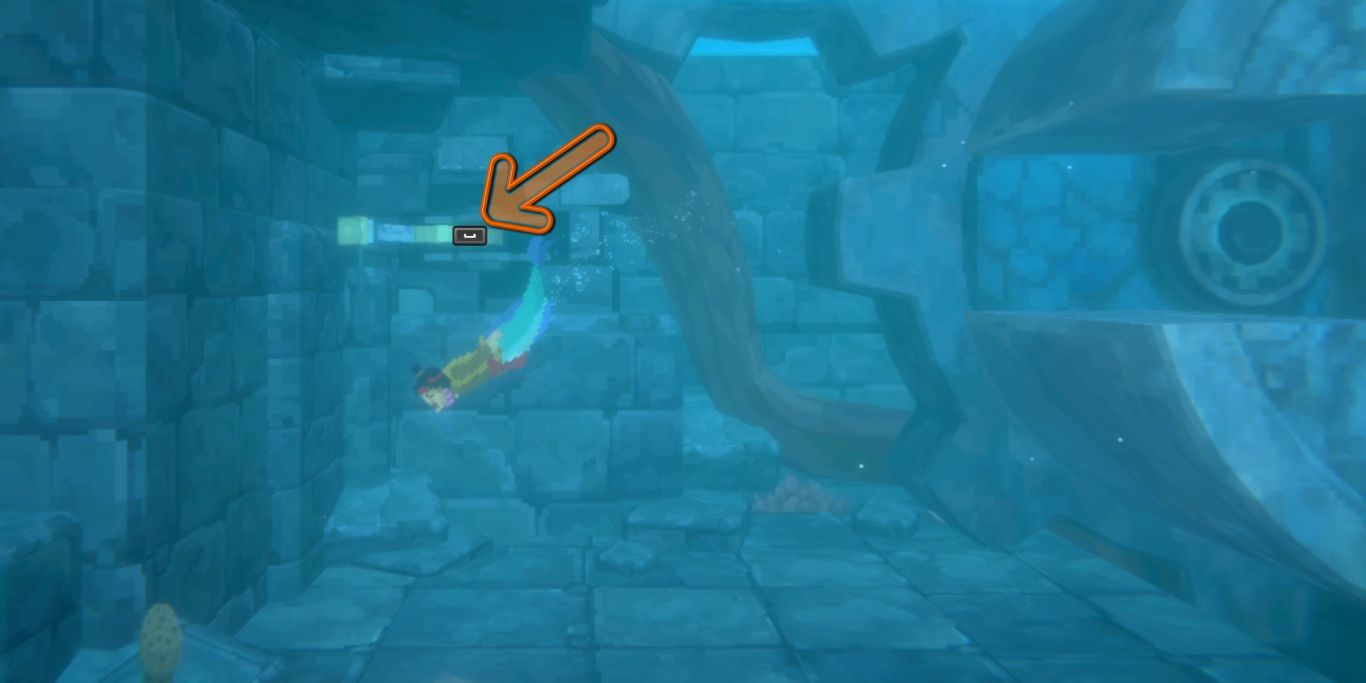
In the next area, you'll see two rotating devices with a switch on the left side. If you press the switch, a ball will come out of the top part. You have to use the rotations of the two devices to make the ball fall on the ice wall below. To do that, follow these steps in order:
- Reach the left device and rotate it to the right side (simply swim into it from the left side to the right).
- Rotate the right device once to the right side.
- Finally, head back to the left device and rotate it from right to left twice.
You can go above the device to cross it without rotating it.
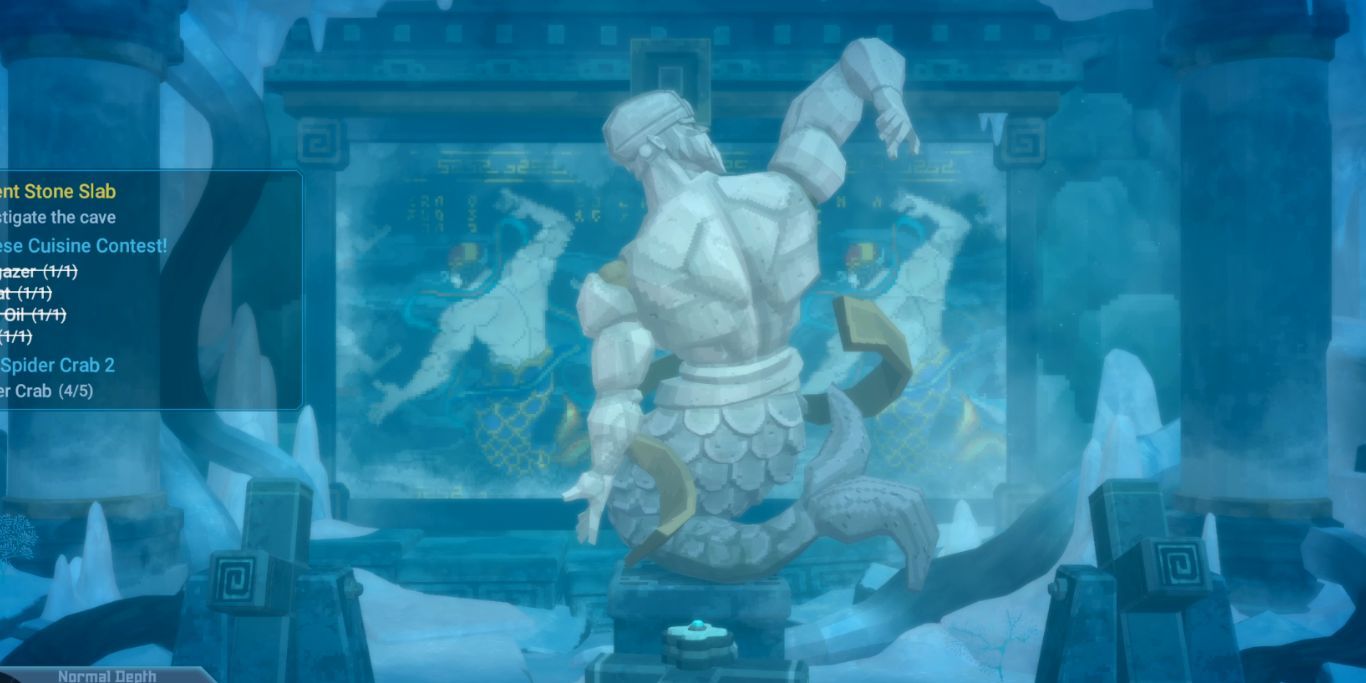
After these steps, you can press the button again and go down from where the ice wall broke and head to the left side. Here, you'll see a statue with three rotating mechanisms. Each mechanism controls a certain part of the statue's body, and you have to match its pose with the ones in the pictures on the mural by following these steps:
- Rotate the device on the right from the bottom to the top side one and a half times. You have to do this until the hand is roughly on the same axis as the head.
- Rotate the middle device from the left to the right side twice to make the head face to the left.
- Rotate the device on the far left from the bottom to the top side halfway. Don't rotate it fully, you have to stop when the hand is in the same position as the picture on the mural.
This will activate the first switch and you can go back out using the passage opened by the statue's head. Once you leave the room, the quest will ask you to talk to Tenzhin, the ruler of Sea People.
How To Find The Missing Beluga
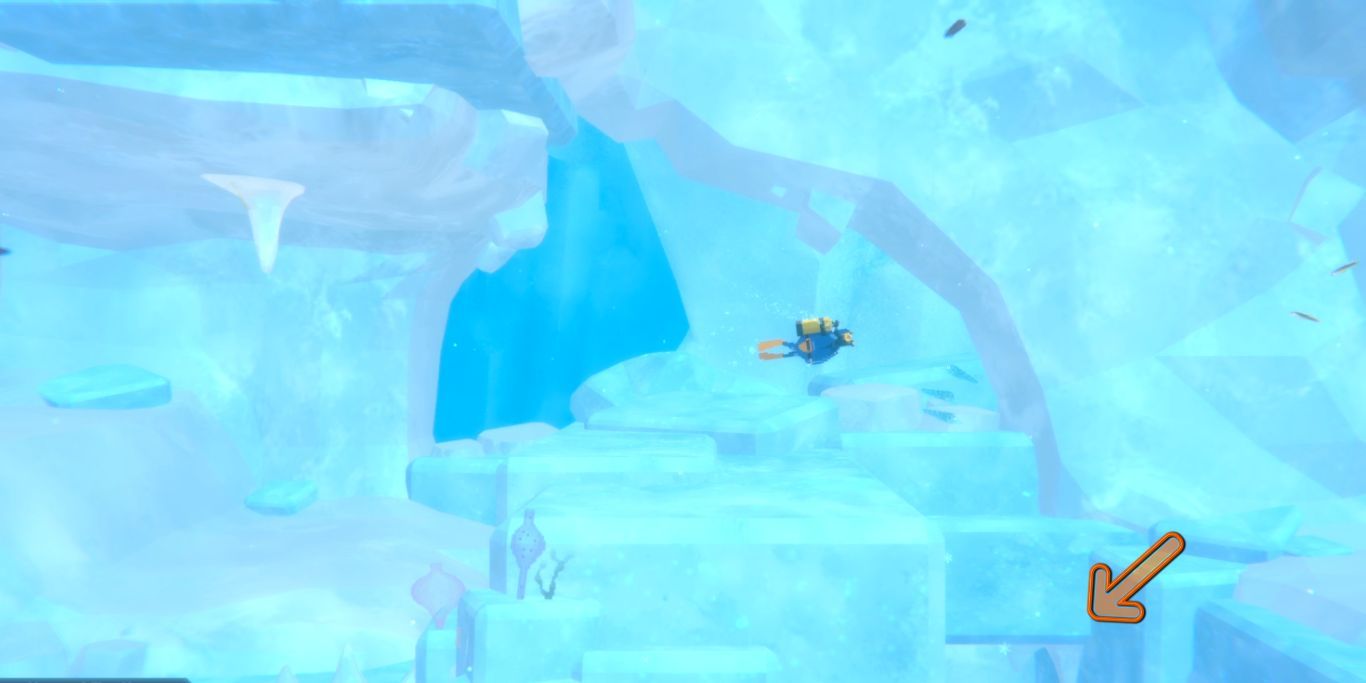
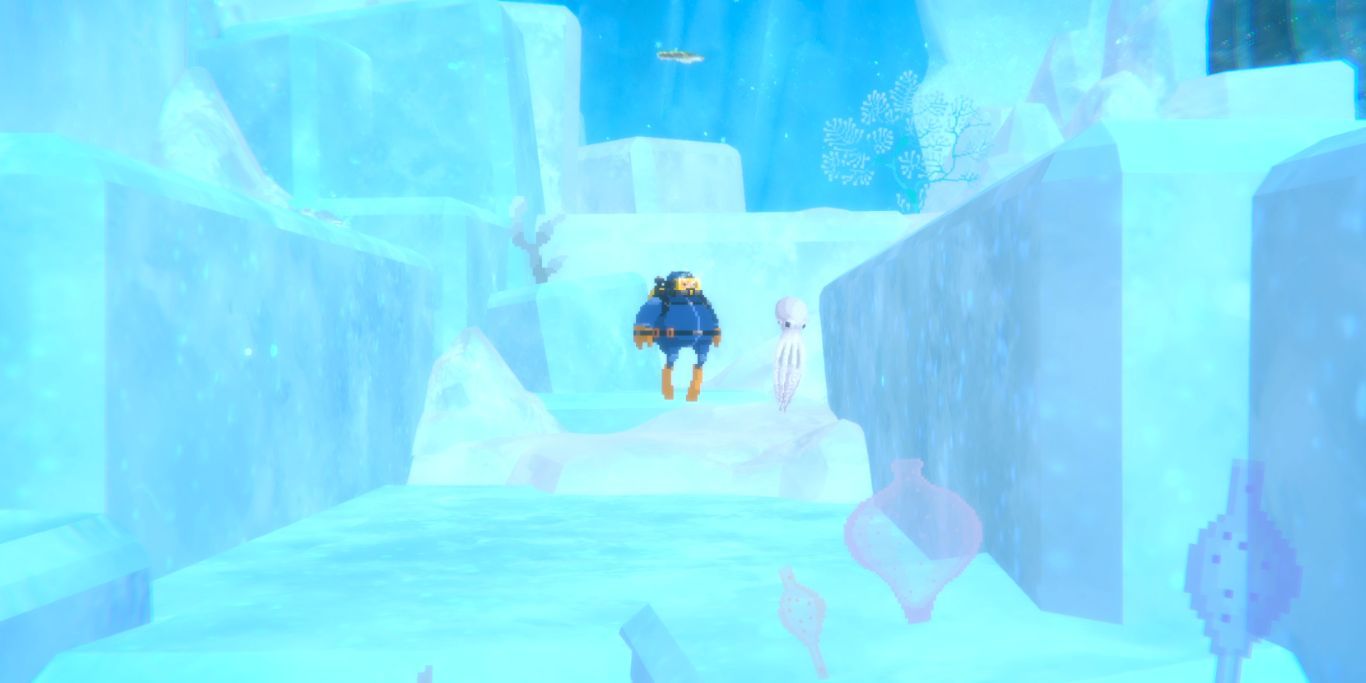
As you talk to Tenzhin, you'll learn that the Beluga has gone missing and that it's probably in the Glacial Area. Head back to the area and turn left as soon as it opens. You'll have to navigate a maze to find the whale. Once you reach all the way to the left, go down and then right for a bit until you find the path dividing into two.
Here, avoid the path going to the left and keep going down. When the path gets divided again, choose the one going to the right and you'll find the whale passed out at the end. You'll have to follow an Antarctic Octopus to get the antidote here, but you'll get an important choice at the end.
The Octopus gets trapped near the door with a heavy current coming out and you have a choice to kill or spare it. It's recommended to choose to spare it as you can get a special item for it, and you'll get the antidote no matter what you choose. After saving the Beluga, return to this door with the current on the next morning and you can continue the chapter.
How To Activate The Second Switch
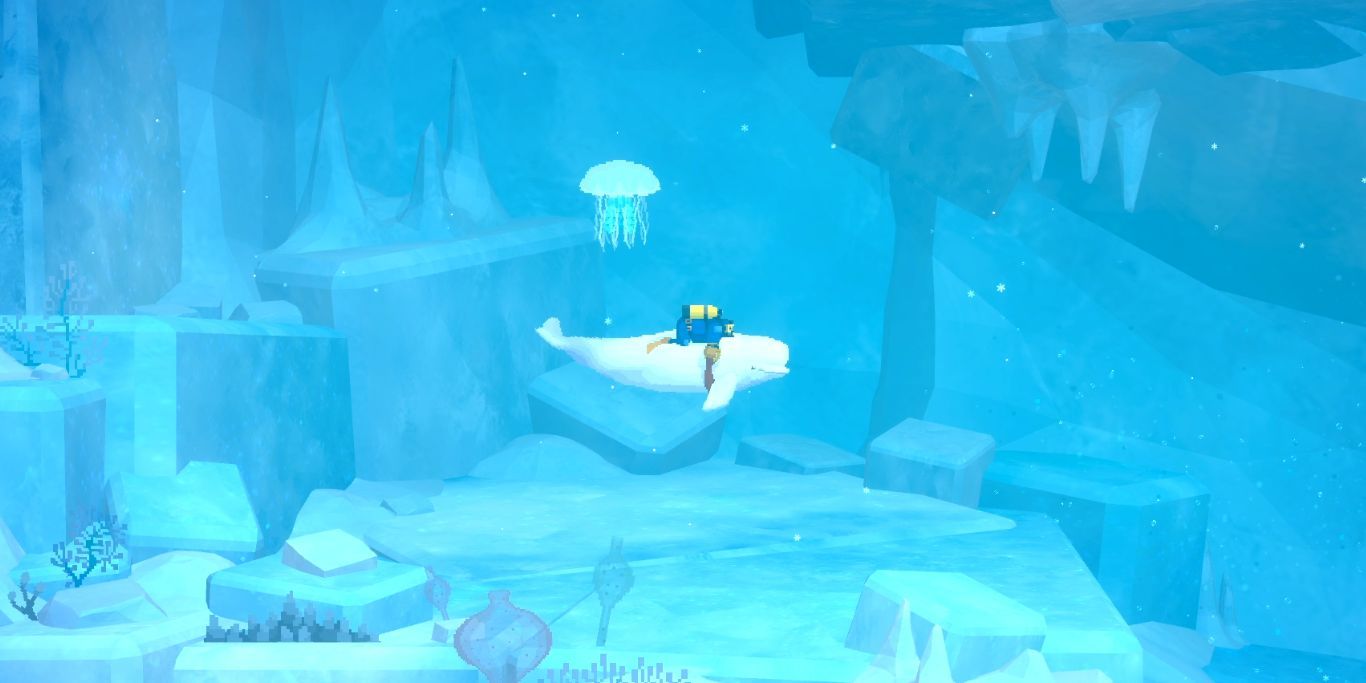
Once you reach the door, the Beluga will appear again and ask you to get on its back. You can get through the current with it by pressing the sprint button. You can also break the icicles in your path by bumping them with the whale's head (the button for this is shown in the bottom-left of your screen).
After you get past a few obstacles, you'll enter a room with the Phantom Jellyfish and will have to fight it. Defeat it and enter the new room on the bottom-right side to find the second switch.
How To Activate The Third Switch
As you activate the first two switches, the temperature at the bottom of the Glacial Area will get better. You can swim lower and go to the far right side to find Suwam standing in front of the door that'll lead you to the third switch. You'll have to control both Suwam and Dave during this to get past the puzzle.
Once Dave reaches the top part of the area, switch to him and go forward until you stand on a button. This will open the passage for Suwam and you can switch back to him to go forward. Dave has to keep standing on the button until Suwam gets past the door.
Keep going forward with Suwam and you'll have to dodge a few rocks when you get to the lower path. You only have three health during this puzzle and it's shared by both the characters. If the health reaches zero, you'll have to restart from the last checkpoint. Keep going until you find a tube where you can turn left.
You'll find a big switch on the left side that can be activated. Press the button and switch to Dave. On this side, you'll have to dodge some icicles falling and reach the next button. Press this mechanism twice so that Suwam can go through the tube to the next part.
Switch to Suwam and activate the mechanism in the next circular tube before switching back to Dave and going past the circular tube on his path. Once Dave is through, switch back and press the mechanism twice to allow Suwam to go through as well. After this, both Dave and Suwam will have to get past some traps.
If either of them gets hit by the walls in this trap, you'll instantly be defeated no matter how much health you have.
After getting past the trap as Dave, press the next mechanism once and then activate the switch on Suwam's side to make a bridge for Dave. You have to hold this switch until Dave can get past it. Go all the way to the right as Dave and throw the Divine Fruit into the gap a bit to the left of where you found the fruit.
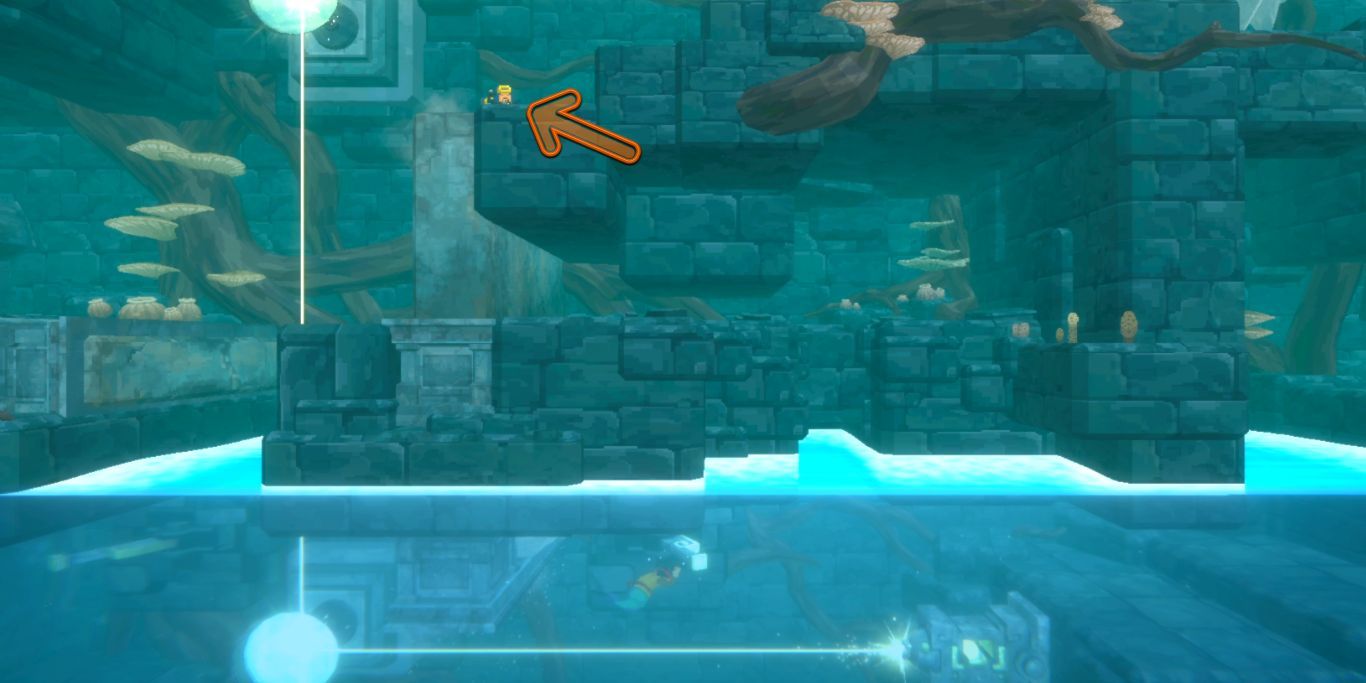
Switch back to Suwam and place the fruit inside the nearby mechanism to activate the laser. This laser will melt the ice on a nearby wall and you'll be able to interact with the switch on the right side of this wall as Suwam. This switch pushes the wall upward, but first, you have to get Dave on the wall so he can go up with it (shown below).
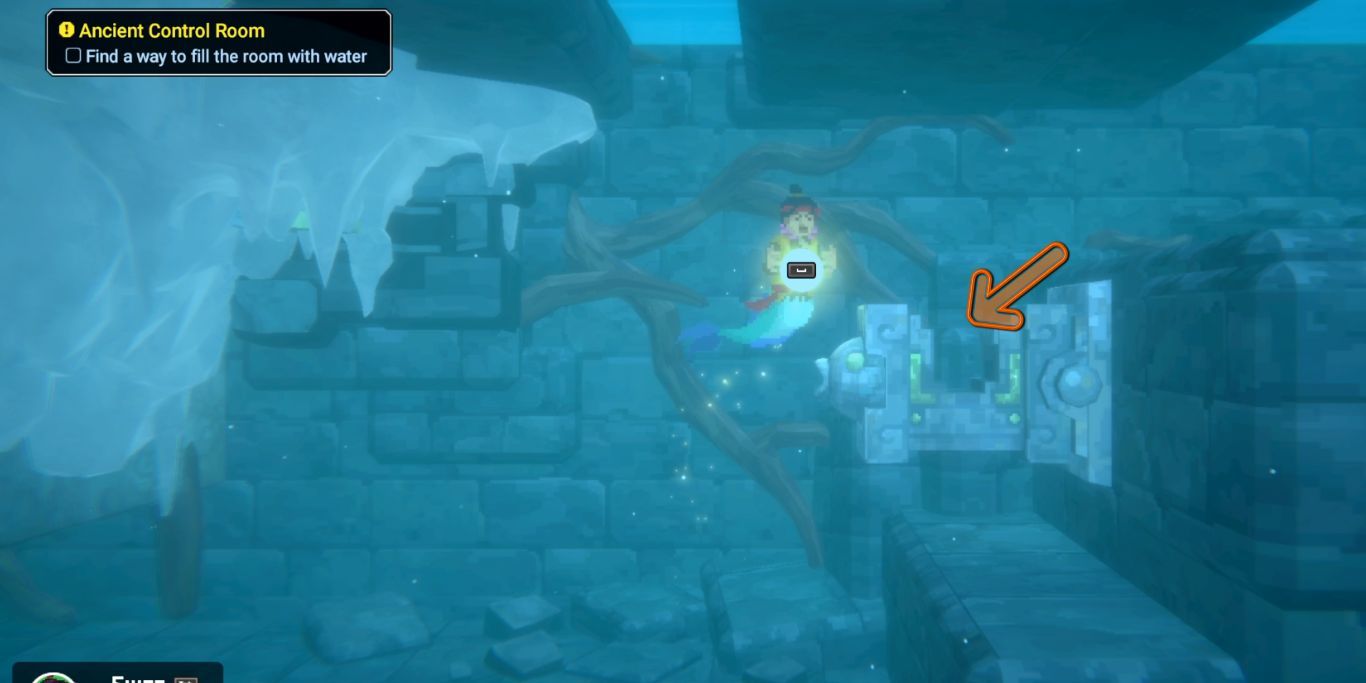
Now, Dave has to press the next button and Suwam has to pull the chain down after that to make another bridge for Dave. Although, make sure you don't remove Suwam from the previous switch until Dave stands on the button and melts the ice. The characters will automatically activate the next switch together to fill up the place with water.
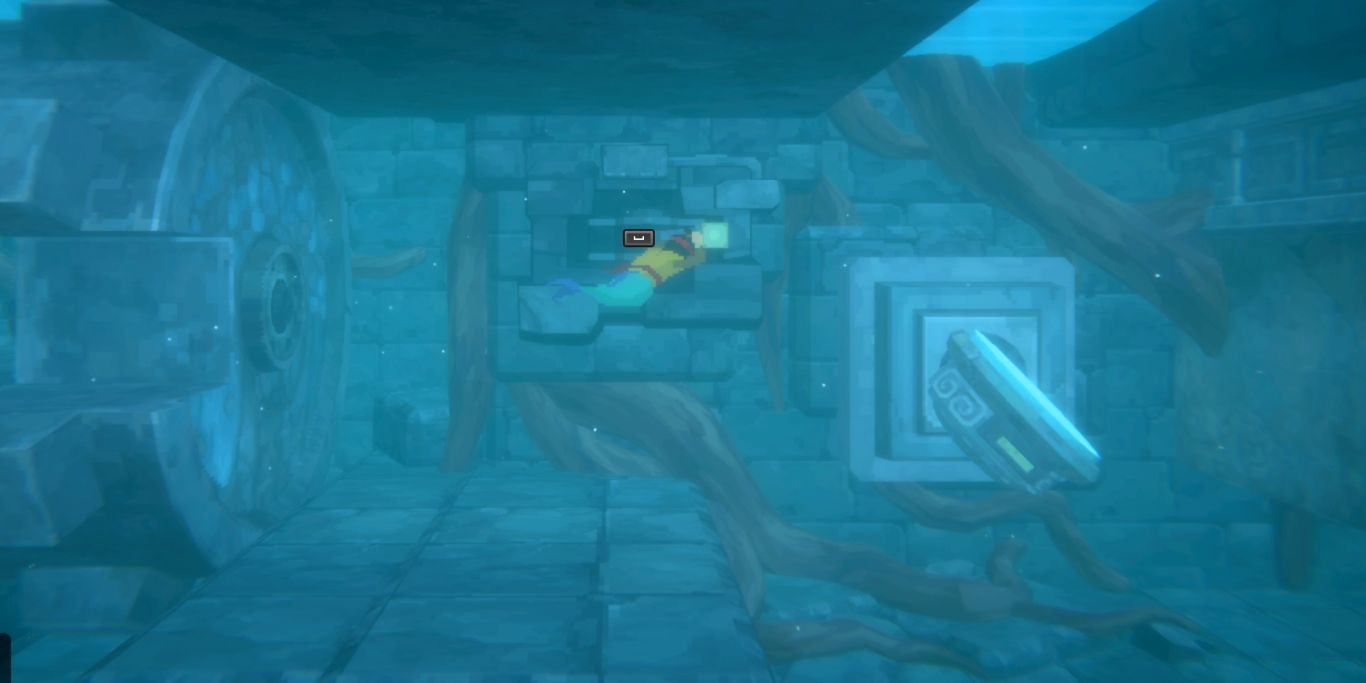
In the next part, both Dave and Suwam will go together but you'll still control them separately. There will be a few Tubeworms ahead, but Suwam can easily get rid of them with his Sea People power. Keep Suwam in front of Dave while crossing the Tubeworm to easily get past it (as shown in the picture above).
In the next room, you'll first have to press both the top and bottom buttons together. Next, you have to hold the switch on the right with Dave since only Suwam can swim against the current. Get to the top part with Suwam and press the switches together once again.
Go upward and you'll find a chain dangling at the top. Pull this chain down with either of the characters, use the other character to go forward, and then hold the chain on the other side to let the first character go through as well.
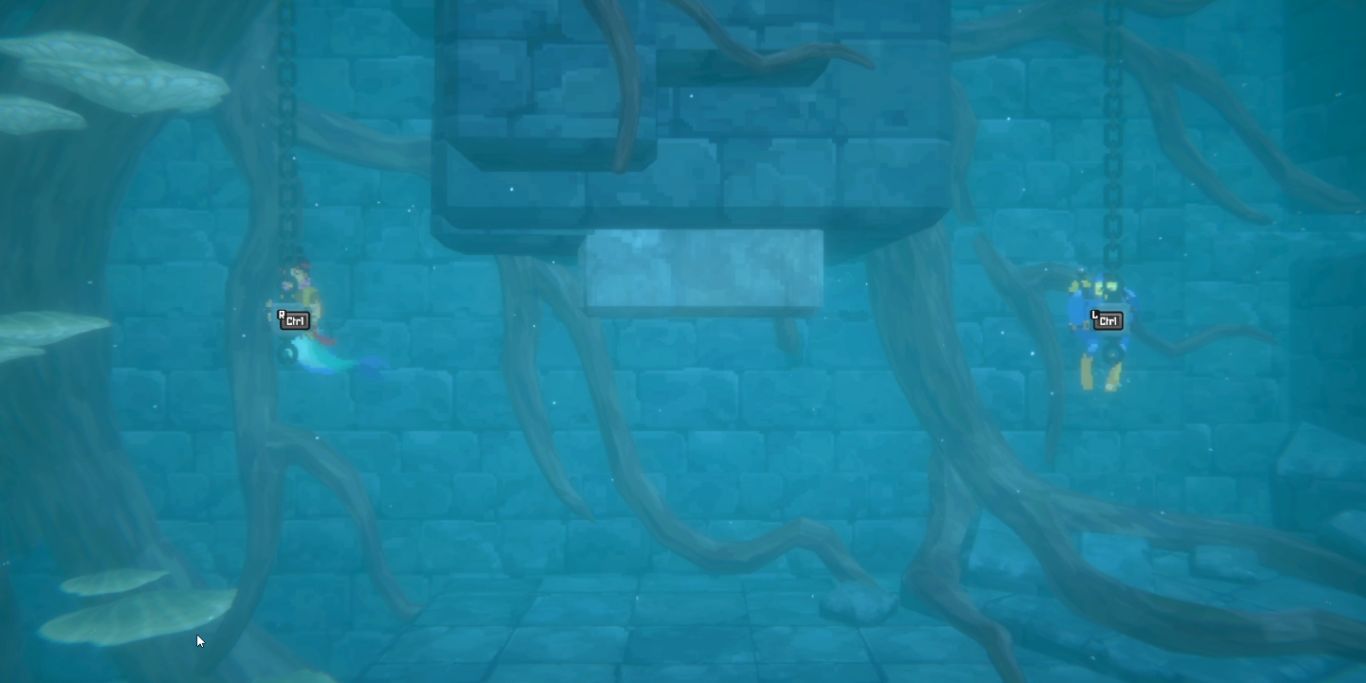
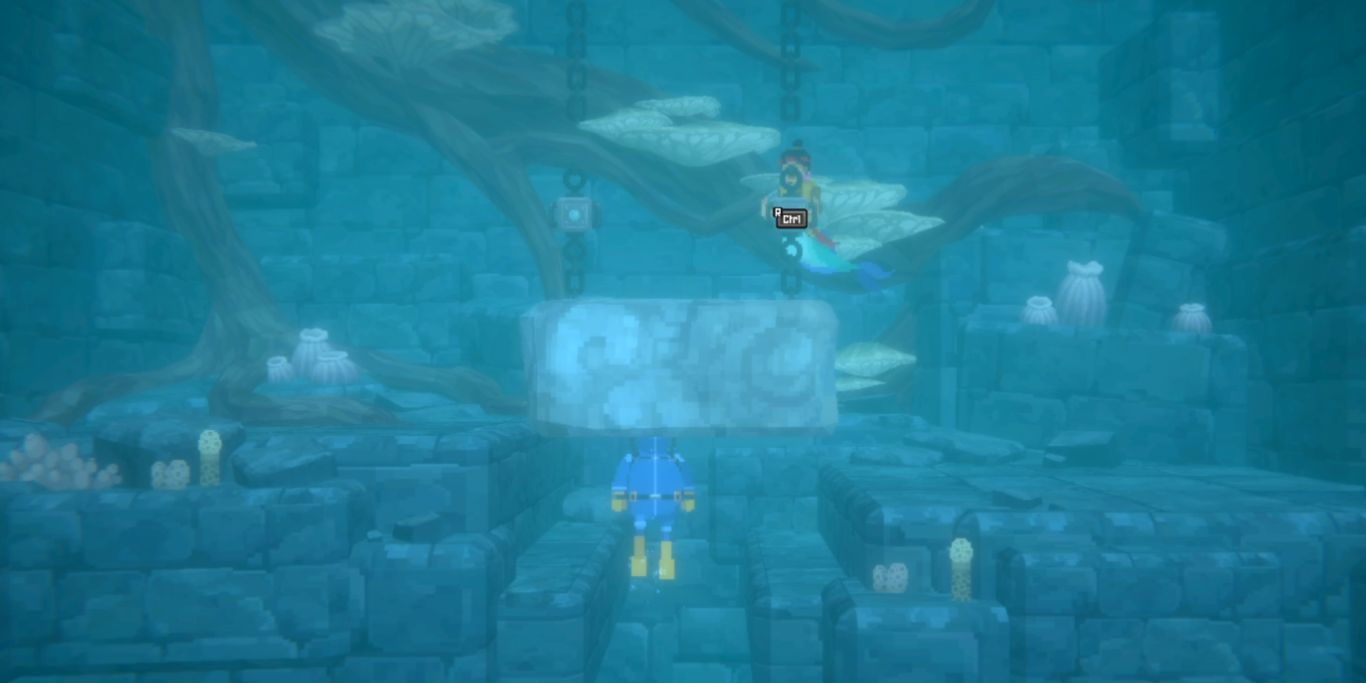
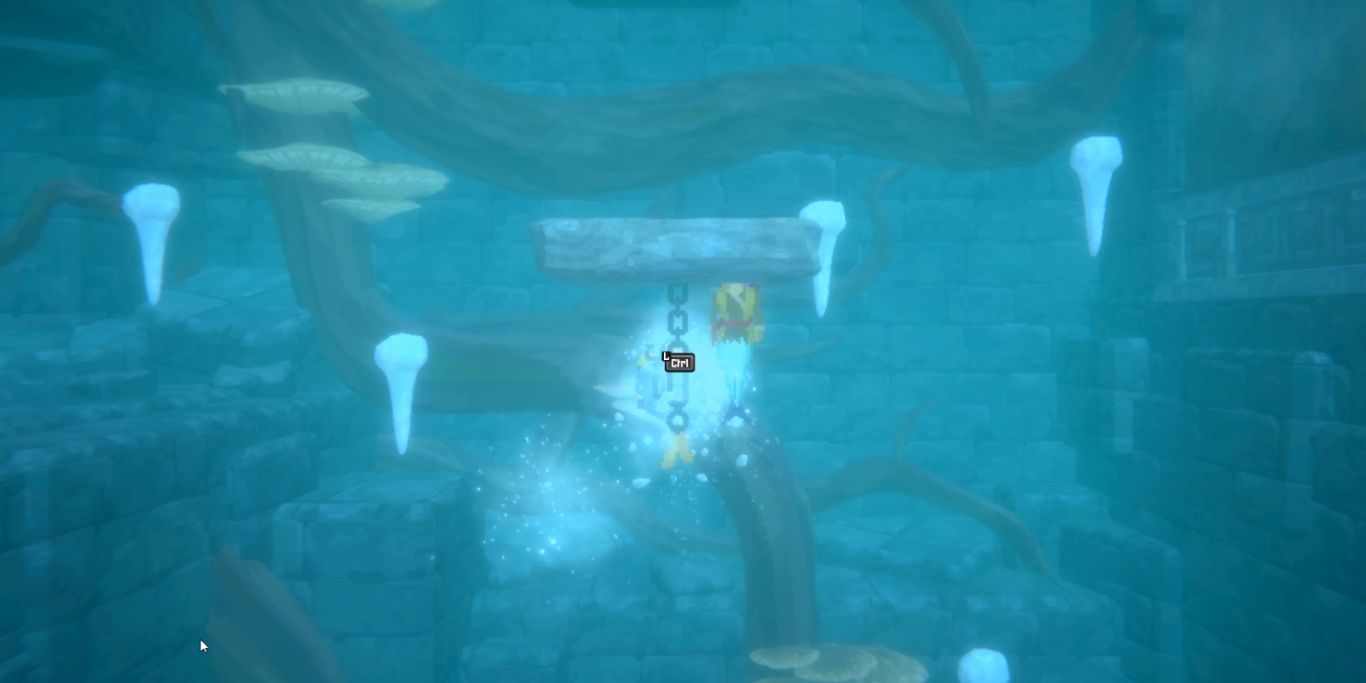
You'll see a stone platform in the next room with chains on either side. Use both characters to lift one chain each and take the platform high up. After that, leave the chain with any one character and take them to the bottom of the platform. Now, you can push the platform from the bottom with this character and allow the other character to get below it as well.
Next, you'll have to press two buttons with each character as fast as possible to trigger the next trap. Slowly get past this trap with one character at a time to avoid confusion.
After that, you'll see a small stone structure with one chain below it. Use any one character to lift the stone structure while the other follows behind. This will help you avoid all the icicles falling from the ceiling. After going up for a bit, you can activate a switch on the left and then go to the path opened on the right.
Here, you have to defeat Helicoprion before you can activate the third switch and end the sixth chapter. Use the Divine Fruits against the enemy to paralyze it for a bit. Before you can end the sixth chapter near the Control Room entrance, you'll also have to defeat the Kronosaurus boss.

